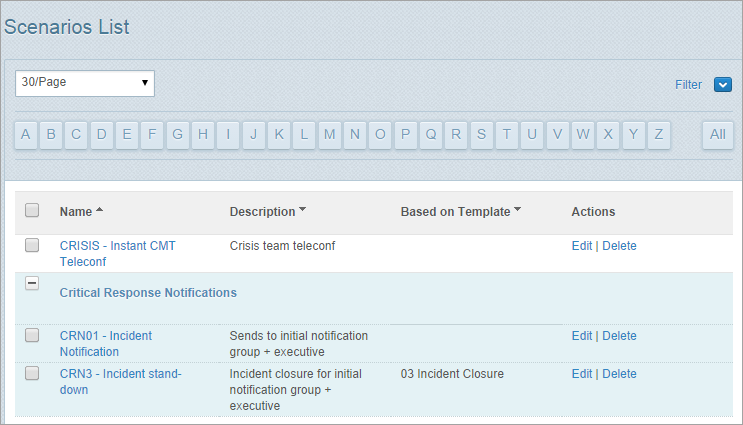
Create a scenario
Follow the steps below to create a new scenario.
Note: The steps (including adding recipients and adding content to the message channels) are similar to creating a new ‘classic’ message. For detailed information about using all features on the New Message page see Create a new ‘classic’ message. But be aware that some instructions may not apply to scenarios.
Steps
- Ensure that the required workspace is on the Workspace toolbar.
- Hover over the workspace to view the Workspace menu.
- Under Workflows click New Scenario. (If you can’t see it, click More to view more commands.)
The New Message page opens. - Add recipients to the scenario.
- Select a template to use.
The list includes any templates created for the workspace in the Rich Message Studio. See About the Rich Message Studio. - Finalise the message content and settings in the same way as you would for a ‘classic’ message.
- Click Save Scenario.
- In the Save Scenario dialog:
- Enter a scenario name (maximum of 30 characters, including spaces).
Make it descriptive and easy to differentiate from other scenarios. - Enter a scenario description.
- In the Permissions field select an option:
- Everyone: Select this option to allow all users with access to the active workspace to perform actions on the scenario (as defined in their Whispir role permissions). For example, View, Edit or Delete.
- Selected Users: Select this option to choose specific users who can perform actions on the scenario.
- Click Save.
- Enter a scenario name (maximum of 30 characters, including spaces).
Important! Because a scenario can be run by users without being viewed first, make sure the scenario is as final as possible when you save it.