Change your current workspace
You can identify your current (or active) workspace from anywhere in Whispir by looking at the Workspace toolbar at the top of the window. The workspace is highlighted.
Notes
- The Workspace toolbar shows a maximum of three workspaces at a time. If three are shown already and you change to one that’s not currently there it replaces one of those workspaces.
- When you log out and log back in to Whispir, the workspace that was last active will be the one that's automatically active again. (This is also referred to as the default workspace.)
Change your workspace
Follow the steps below to change to any other workspace that you have permission to access.
- Do one of the following:
- If the workspace you need is already shown on the Workspace toolbar you’re nearly there! Hover over the workspace to open its Workspace menu and then access the function you require.
- If the workspace you need isn’t on the toolbar go to Step 2.
- Click the workspace selector button
 .
.
A list of all other workspaces you have permission to access appears.
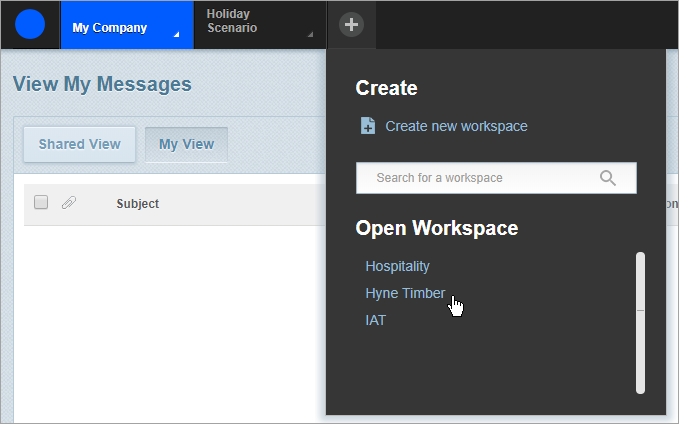
- Find the required workspace and click it. (If the list is long, scroll down or use the search field).
The new workspace appears on the Workspace toolbar. You can now click it to access its Workspace menu.
Close a workspace
You can close a workspace to remove it from the Workspace toolbar.
- On the Workspace toolbar hover over the workspace to view its Workspace menu.
- At the bottom of the menu click Close Workspace.
The workspace is removed.