View, edit or delete templates
You can use the Template List page (Workspace menu > Template Studio) to view, edit or delete templates that are available to the current workspace.
Note: You can’t use the Template List page to manage the ready-made templates that live in the Rich Message Studio’s Template Library. See About the Rich Message Studio.
Steps
Open the Template List page
- Ensure that the required workspace is on the Workspace toolbar.
- Hover over the workspace to view the Workspace menu and then click Template Studio.
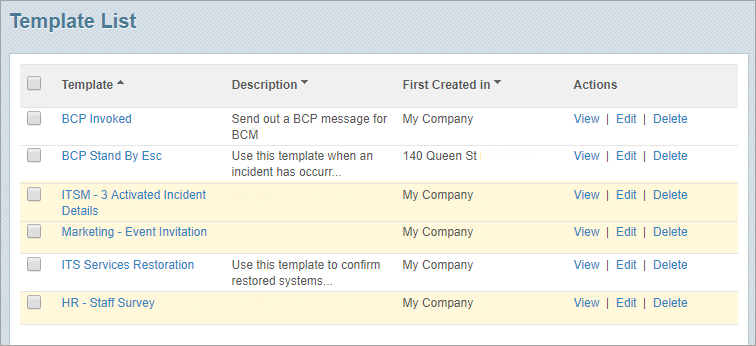
The Template List page opens. It lists all templates available to the current workspace. Any templates shaded yellow are ones that have been created, edited and saved to the workspace’s My Templates page within the Rich Message Studio.
View template details
- Either click the template’s name or click View.
The template opens either on the View Template page (if it’s a ‘classic’ template) or at the Preview step in the Rich Message Studio if it’s a rich content template. - View the template content.
Edit a template
- Click Edit beside the template you want to edit.
The template opens either on the Template page (if it’s a ‘classic’ template) or at the Edit step in the Rich Message Studio if it’s a rich content template. - Make changes to the template as required.
- Click Save to save your changes.
Delete templates
You can delete one or more templates from the current workspace or delete them from all workspaces they’re mapped to.
Warning! Using the Delete All action may have a large impact on all workspaces a template has been mapped to. So ensure you only delete a template if you know that no other users are relying on it. See Copy, move or map templates.
- Select the check box beside the templates to be deleted.
- Do one of the following:
- Click Delete to delete the templates from the current workspace only.
or - Click Delete All to delete the templates from the current workspace and all other workspaces they’re mapped to.
- Click OK in the message to confirm your action.