Blacklist mobile phone numbers and email addresses
Role: Company Administrator.
You can add mobile phone numbers and email addresses to Whispir’s blacklist to prevent SMS messages and emails being sent to specific message recipients. This feature is particularly useful where, for compliance reasons, your company must give recipients the option of opting out of receiving messages. The blacklist applies company-wide, not just to messages (including bulk messages) sent from specific workspaces.
Note: The Gateway addresses section at the bottom of the Blacklisting page displays all blacklisted gateway addresses, which are added automatically when they’re created. See Set up an inbound gateway using address mapping.
Add a mobile phone number or email address
- Open the Company Settings page (click
 > Administration sidebar > Company Settings).
 - In the Settings pane on the left expand Messaging and click Blacklisting.
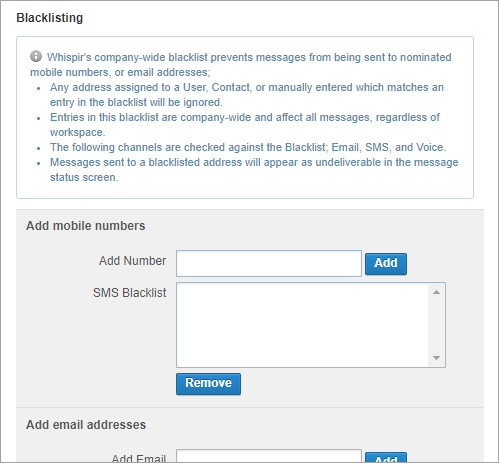
- Read the information about blacklisting at the top of the page.
- If you’re blacklisting a mobile phone number enter the number in the Add Number field and click Add.
The number is added to the SMS Blacklist field. - If you’re blacklisting an email address enter the address in the Add Email field and click Add.
The address is added to the Email Blacklist field. - Click Save.
Note: Include the international country code at the start, omit the leading zero and don’t include any spaces. For example, enter 61401987654 (where ‘61’ represents Australia and phone number is 0401 987 654).
Remove mobile phone numbers or email addresses
- Open the Company Settings page (click > Administration sidebar > Company Settings).
- In the Settings pane on the left expand Messaging and click Blacklisting.
- Select one or more numbers or addresses in either the SMS Blacklist or Email Blacklist field and click Remove.
(Press and hold the CTRL key to select multiple separate entries, or press and hold the SHIFT key to select a block of entries.) - Click Save to save your changes.
The details are removed.