Use the Shared Template Styles components
This topic relates to Whispir’s Rich Message Studio (not to Whispir’s ‘classic’ messaging).
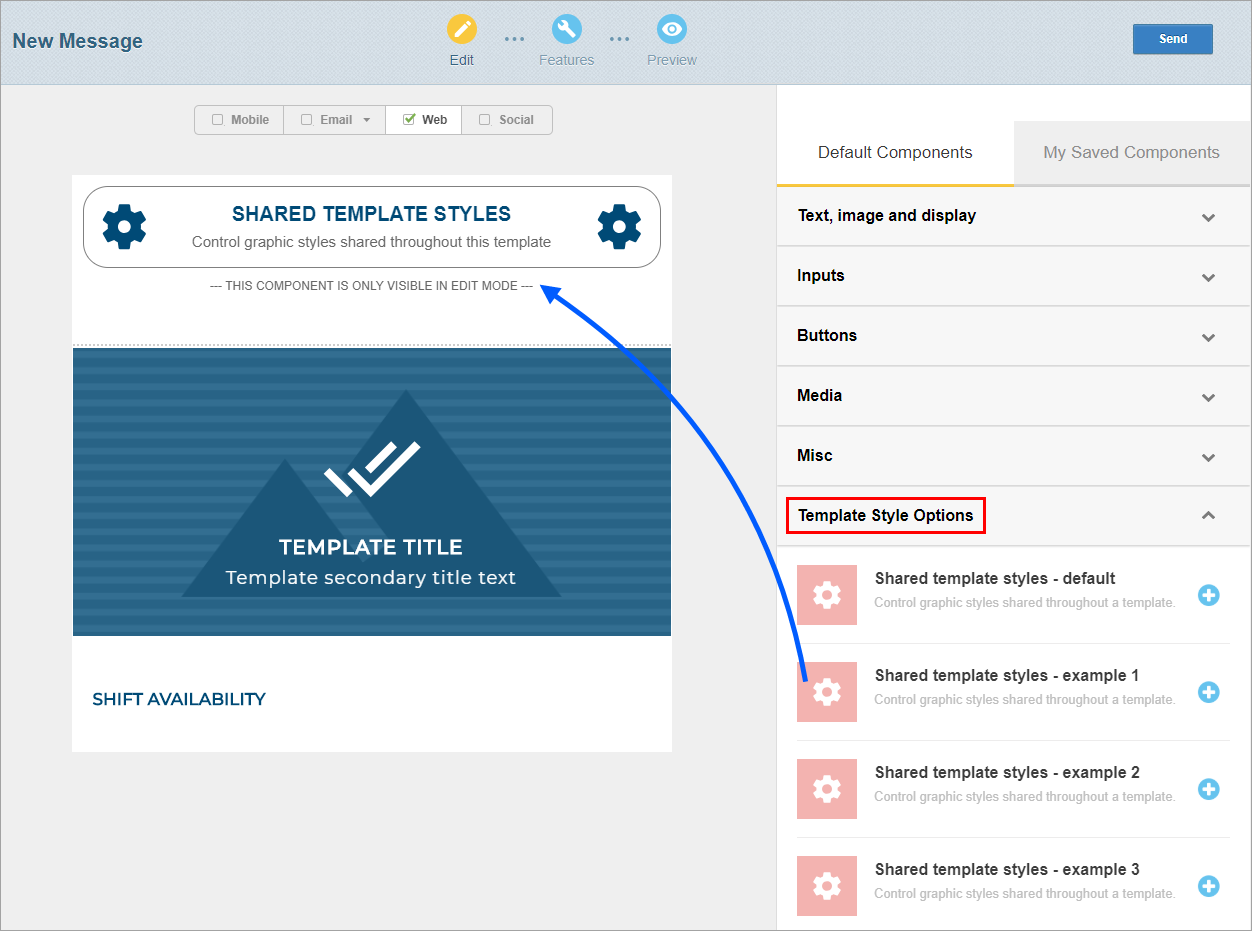
The Shared Template Styles components in the Components Library provide a quick way of applying a consistent look and feel across the Web channel components in your rich message or rich template. They’re located under the Template Style Options category.
These components control text styles and colours for most headings and paragraph text, and most styles for other components such as buttons, text input content, date and time, drop-down text, banners, alert boxes, horizontal lines and sliding scales. There’s no need for you to style individual components to get the right colour and fonts – just add a Shared Template Styles component and the hard work is done! As you add other Web channel components to your message or template they immediately take on the look of the selected theme.
Whispir provides four standard themes to choose from – black, blue, green and red. But you can edit and save any of them to create a new look that matches your corporate branding or any other design need.
Use a Template Style Option component
- Open a new rich message or template.
(Follow the steps in Create a new rich message, Create a new rich template from scratch or Create a new rich template from an existing one.) - Click Edit in the progress bar and then click the Web channel.
- In the Components Library expand the Template Style Options category and then click
 beside a Shared Templates Style component or drag it to your message or template.
 - Build your message or template by adding all other components you require. Notice how they change appearance to match the theme you’ve selected.
Note: Whispir recommends that you place the component at the top so you can clearly see it as you’re creating your message or template. It’s only shown while you’re in edit mode; no message recipients will see it.
Edit and save a Shared Template Styles component to My Saved Components
If none of style themes in the four Shared Template Styles components is quite what you want you can edit one and save it as a new component.
- In your new message or template add a Shared Template Styles component. Refer to the steps in Use a Template Style Option component.
- Hover your mouse over the component and click the edit icon
 .
.
The editing pane opens on the right in Content mode. It displays the component’s editable properties, grouped by property type. The main property type is expanded automatically.
Note: Clicking Code switches to Code mode. It can give you greater control over your changes but you should only use it if you’re experienced in editing HTML code.
- Work your way through all the properties, updating them as required.
- Click Save as component.
- In the Component Name field enter a name.
Choose a meaningful name that easily identifies the purpose of the component. - (optional) Enter a description for the component.
- Decide whether to select the Share Component Across All Workspaces check box or not.
- Leave the channel selector as set to Web only.
- Click Save.
Your new Shared Template Styles component is now saved to the My Saved Components tab of the Components Library. It’s available for applying to any new rich message or template you create.
Important! The Share Component Across All Workspaces check box lets you share this component with all other users. However, this has the potential to quickly fill up everyone’s My Saved Components section with components they don’t need or don’t recognise. And if you delete a shared component you also delete it for everyone else. Whispir recommends that you avoid selecting the check box unless you’re sure it’s safe to share the component.